It’s almost Halloween and for the first time in my life, I live in a house that will actually see trick-or-treaters! So I had better get my act together and get some decorations put up outside. I really liked Evan & Katelyn’s DIY Floating Ghosts tutorial, so I thought I’d give it a shot.
Fabric Ghosts – the mad dash!
I’m going to show you how I followed and deviated from the original tutorial. This is more like a walkthrough and review than a tutorial. So please refer to the original and this video tutorial by Evan & Katelyn. They shared every detail of how to complete this project and they did a great job.
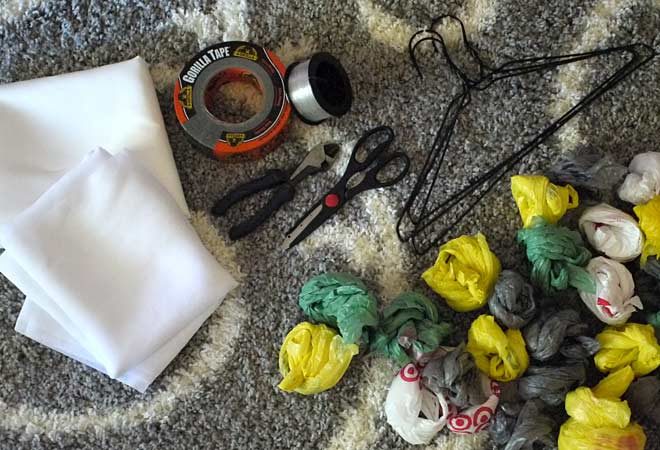
Tools & Supplies
I had wire hangers, fishing line, and plenty of plastic shopping bags. I had to go buy duct tape and fabric. I wish I had found sheer fabric for a cheap price, but all I could find at my local Walmart was tulle and it turned out to be less than ideal for the purposes of revealing the eyes underneath.
I bought 2 yards of each fabric. That suited me just fine for three ghosts. If all I needed to buy was fabric, this project wouldn’t have cost more than six dollars. That’s pretty cool. I will say that you don’t need much wire, but you need a lot of plastic bags.
The only tools I used were wire cutters and scissors. You will need high quality scissors to cut the fabric. I tried three different pairs before finally being able to continue with the project.
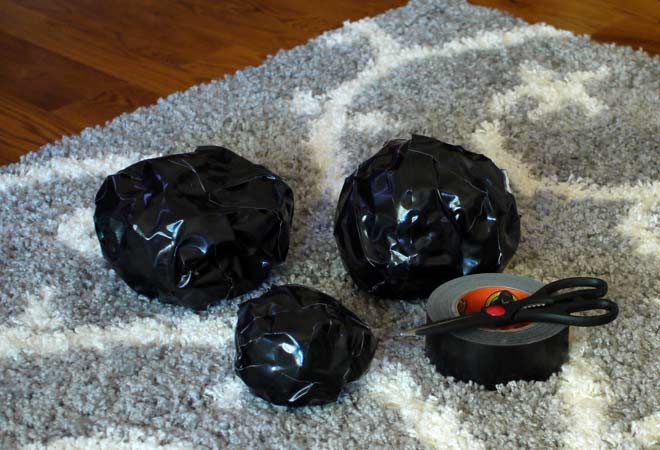
Assembly
After bunching up the plastic bags, I wrapped them in duct tape. I bought high quality, black duct tape because I didn’t want these decorations to fall apart after one use. But after trying to cut through this stuff, I almost wish I used a cheap, thin roll instead.
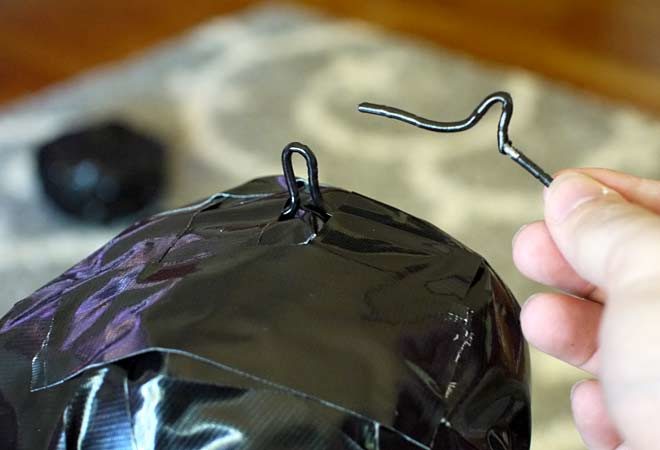
I recently cut my thumb pretty bad, so bending the wire hanger was a bit tricky. If you have two functioning hands, this will be easy though. I taped these little loops onto the balls of plastic bags from the last step.
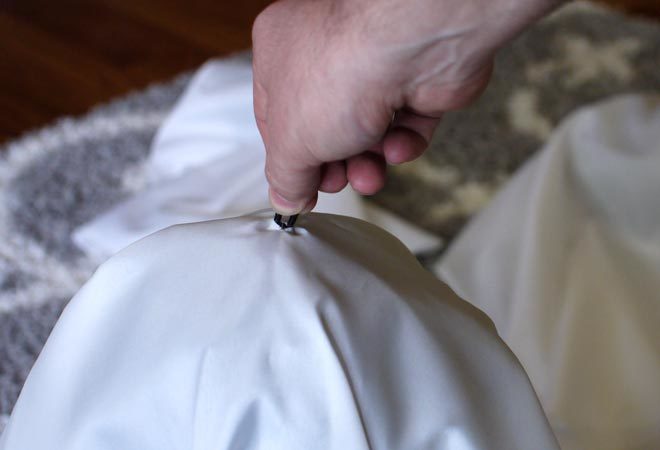
Next was cutting the white fabric to cover the ball. Here is where I wish Evan & Katelyn were a little more descriptive. No matter what shape I started with, when draped over the ball, it didn’t lay well. I’m most concerned with the tails at the bottom. You want them whispy and not too repetitive. But that’s easier said than done.
I made a bunch of adjustments by cutting the tails while holding the ghost in the air. I’m mostly satisfied with the end result, but it was the least fun part of the project. I wish there was a shape or template that I could follow to get a good look from the beginning.
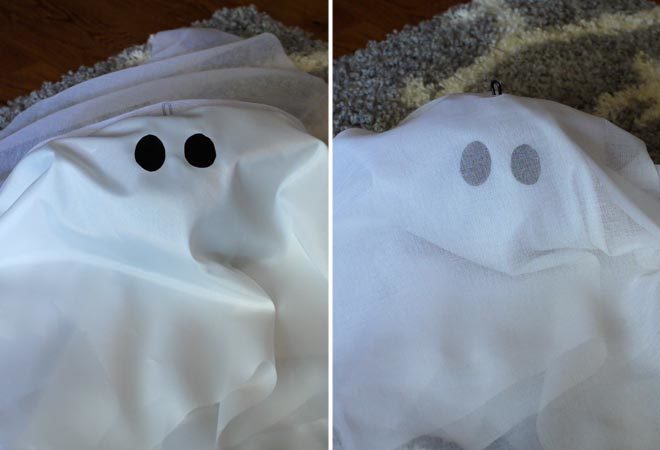
The last two steps to completing the ghosts were to add eyes and then the tulle fabric. I followed the suggestion in the video to use black duct tape for the eyes. I’m confident they will stay in place. But you could also use a Sharpie instead.
When I placed the tulle over the ghost, it hit me that sheer fabric would have been a whole lot better. I think you really want to see the eyes and sheer would have been more effective.
Hang ’em up!
That’s it for the assembly of the fabric ghosts. I think they turned out great. Now you just have to pick a spot to hang them outside your house.
I took some photos of the fabric ghosts hanging in my stairwell. After some editing… SPOOKY!
Use the fishing line through the little loop on top of the ghosts to hang in a tree, your porch, or anywhere else you’d like to add a little Halloween flair to your house!
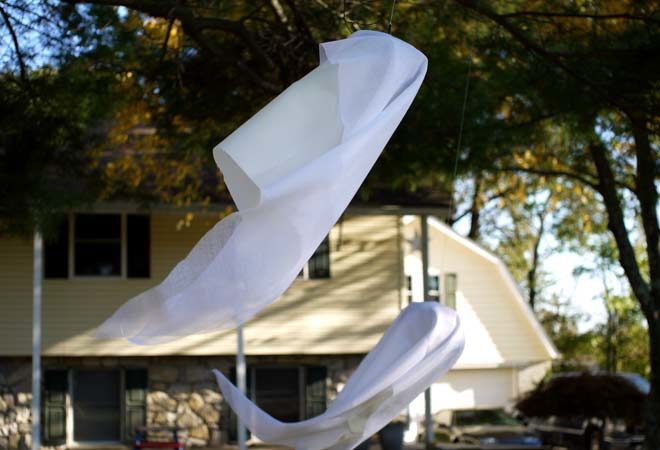
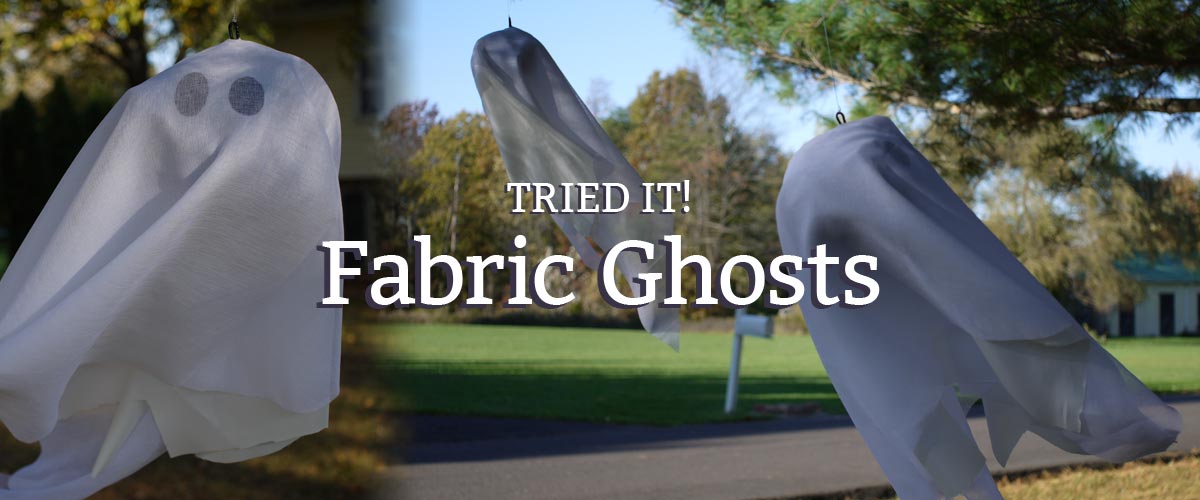
These two ghosts are hanging in my front yard from a couple tree branches. The neighborhood kids seemed to get a kick out of them while walking home from school.
You can see in that last photo that the wind was blowing. One thing I noticed is that you can’t do much to orient the ghosts. So maybe the eyes will face forward, and maybe not. If it’s windy, all bets are off. But they look good regardless.
Happy Halloween!
Definitely check out the original tutorial and try to use sheer fabric for the outer layer if possible.