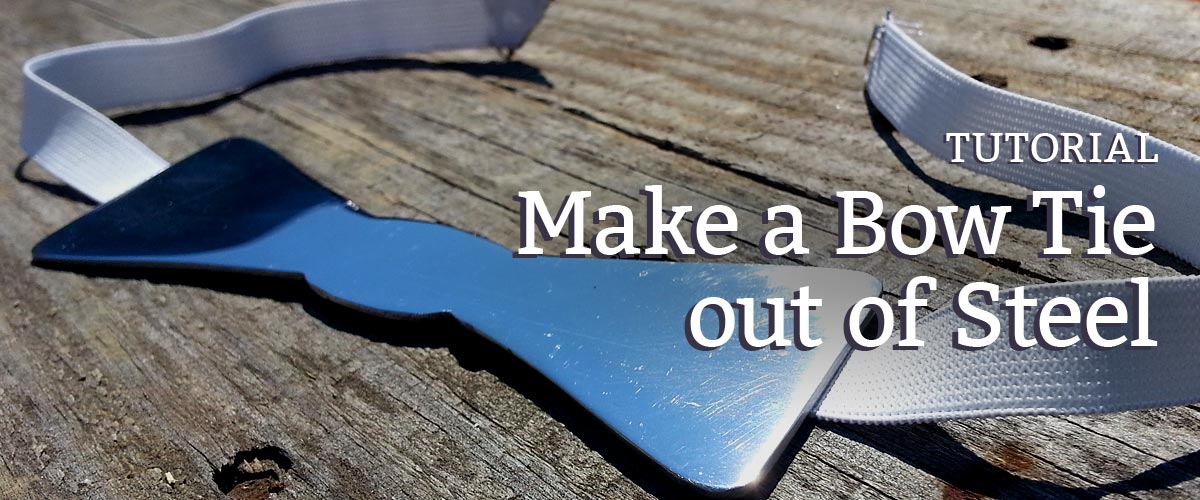
Wedding season is approaching and it’s time for the DIYers to step up. Homemade gifts are great, but what about homemade attire and accessories? Here’s the step-by-step of how to make a DIY steel bow tie in just a couple hours and kick your fancy clothes up a notch.

Inspiration for a DIY steel bow tie
Last year I was getting ready for my cousin’s wedding and needed to pick out what I’d be wearing. My wife helped me buy a new shirt and when it came time to pick a tie, I just wasn’t feeling it.
Sam from DIY Huntress had just shared her newest project, DIY Wooden Bow Ties, and I wanted to make one of my own. But I didn’t have any fancy woods and… oh, there was one more problem…
The wedding was tomorrow!
I looked around my shop, knowing I had only a few hours to spare. I had a sheet of 14 gauge steel and I had just learned to weld. Sounds like a perfect opportunity to practice!
Here’s what you’ll need:
- metal sheet or flat bar stock (not too thin to be dangerous)
- jig saw or metal cutting bandsaw
- metal cutting blades
- metal files
- optional: angle grinder or Dremel
- optional: abrasive disc and flap disc for shaping
- various grit sandpaper
- buffing compound
- optional: buffing wheel
- welder
- elastic band and metal clips
Let’s make a metal bow tie!
I started off by clamping my steel sheet down to a temporary work surface. I recommend doing this project outside if possible because the metal shavings and flying sparks could be a nuisance in your shop. You’ll also definitely need eye and ear protection.
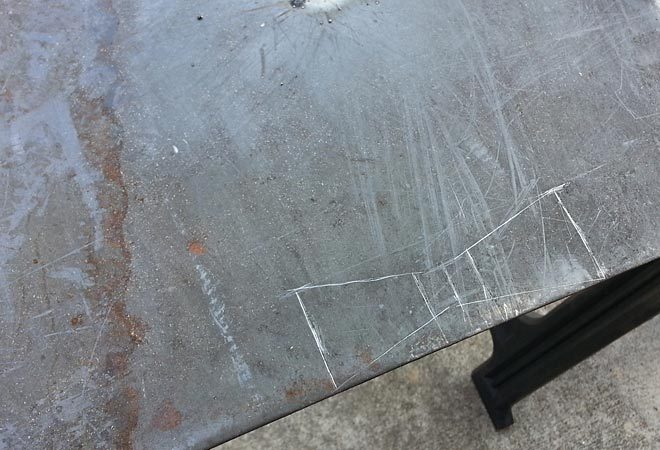
Next I marked the metal with a rough shape of the bow tie. You could use a paint pen or chalk, but I just grabbed a nail and scored some lines. These will be easier to see once I start cutting and making a mess.
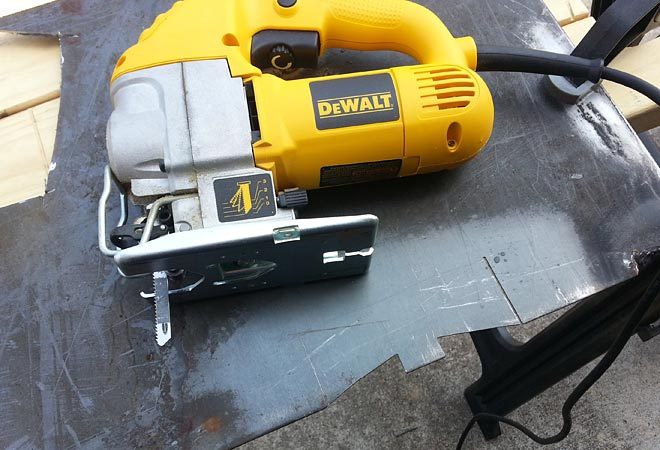
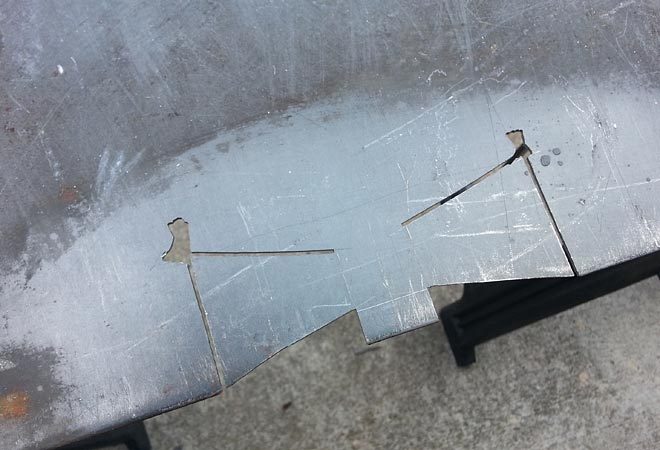
I cut along the lines I had marked with my jigsaw and a metal cutting blade. This isn’t the best way to cut metal, but it’s cheaper than a bandsaw and less dangerous than a cut-off wheel. So as long as you have your safety glasses on, you’ll be just fine.
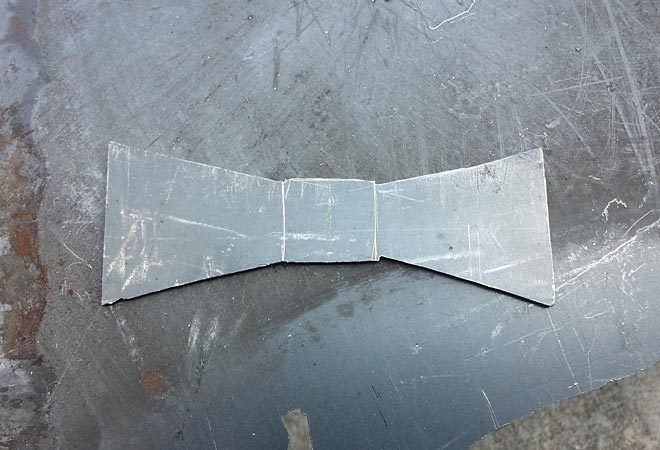
Here’s the rough-cut bow tie shape. Now that it’s cut out, you’ll need to rely on clamps to hold it in place while you shape and finish it.
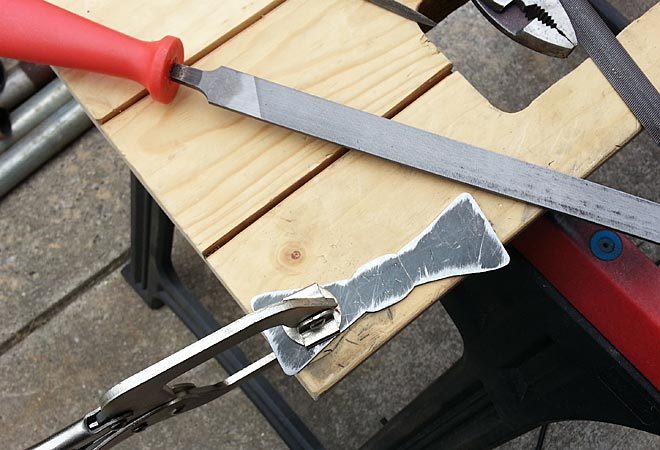
It took a lot of filing to get the final shape and soften the sharp edges. A small, triangular file helps to shape the inside edges of the knot, while a large, flat file makes quick work of straightening the rest.
Something to note: My final product would have been greatly improved had I avoided filing on the front face. I tried rounding over the front edge a bit too aggressively and it made it difficult to remove the deep filing scratches later. If you’re going for a mirror finish, definitely avoid touching the face until you get to the sanding step.

I used an angle grinder with an abrasive disc to help speed up my filing time. Honestly, I didn’t really need it. It saved me maybe 5 minutes. Here you can see I’ve used it again with a flap disc to quickly clean the surface of the metal.
A flap disc has a bunch of little pieces of sandpaper overlapped on each other and it does a great job of smoothing out welds and cleaning metal. However, like I said before, I shouldn’t have touched the front face with anything but sandpaper. It’s hard to get a flat surface with a curved tool. So be aware.
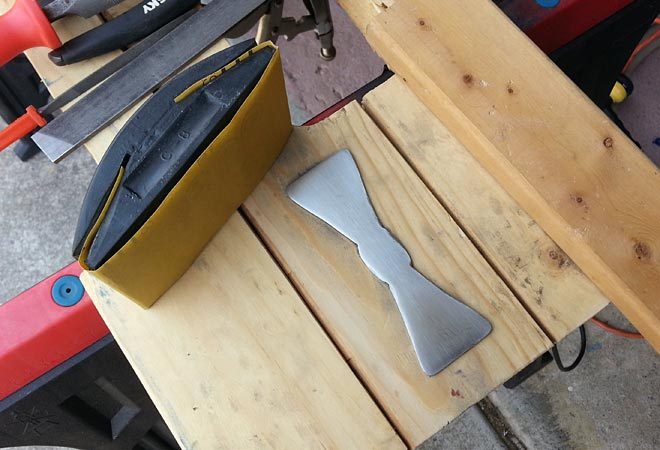
Use a sanding block with progressively higher grits to get a very flat and uniform surface on your bow tie. This was my favorite step of the project. You can really start to see the finished product as the metal gets shinier and shinier.
I think I progressed up to 1000 grit paper before buffing. 1000 to 2000 grit will get you a very shiny surface. But if you want it to look like a mirror, you’ll have to use a little buffing compound and a soft towel. I happened to use a buffing ball that chucks into my drill, but you could also use a grinder with a buffing wheel for quick results.
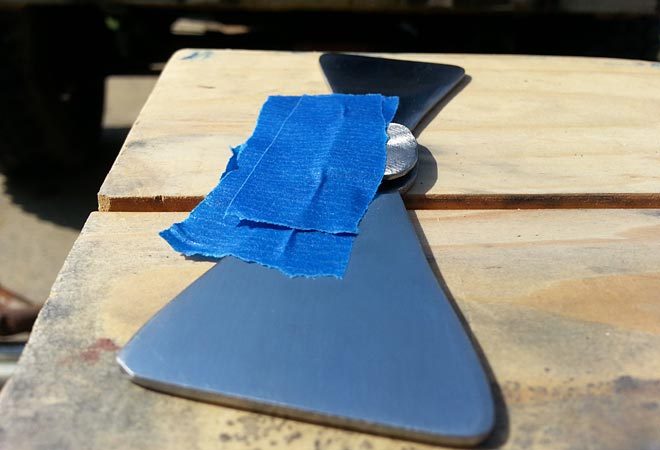
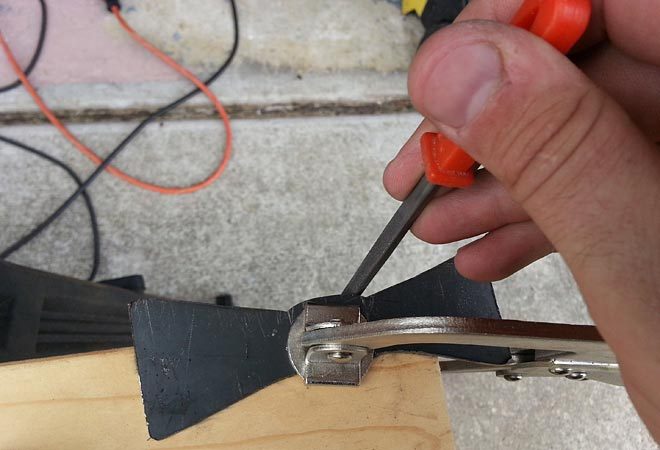
I made my steel bow tie with a clip on the back so that it could slip over an elastic neckband. To attach the clip, I first cut it out and shaped it to fit the profile of the knot, and then spaced it off the back of the bow tie using layers of tape underneath and over the top to hold it in place.
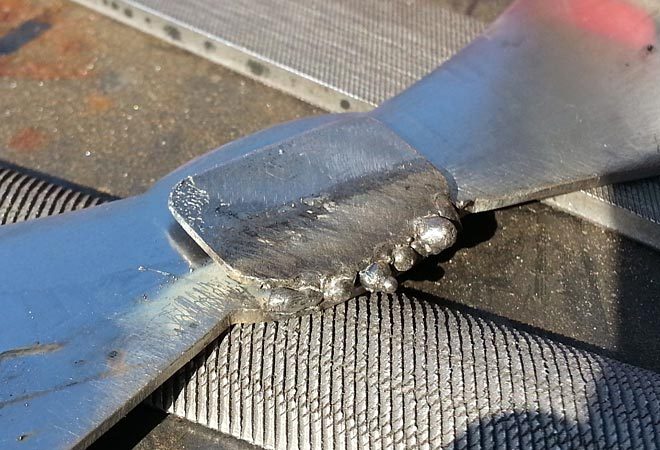
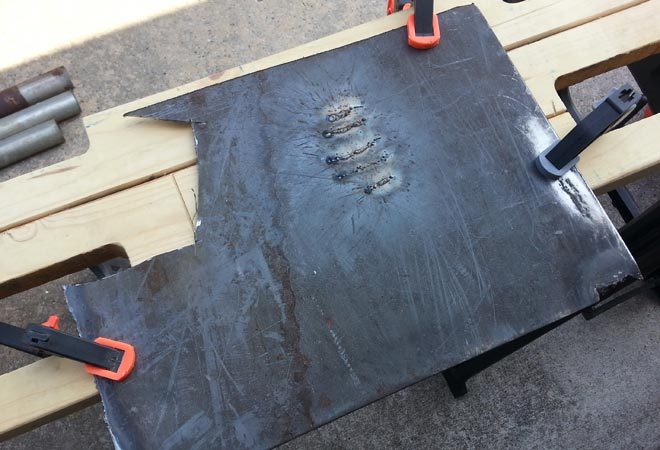
My welds here are ugly. Super ugly – I know! I was still new to welding and it’s hard to do small detail work with a flux-core welder. Enough excuses though, it doesn’t matter what your welds look like, as long as you keep grinding and welding until you have a uniform and solid joint.

I ground down the ugly welds and noted where the gaps were. These were the spots I tried to fill in with my next round of spot welding.
Pro Tip: Don’t let the metal get too hot. Short welds or spot welds, with plenty of time between to let the metal cool, is best. This will reduce the chance of warping the metal. Of course, if you want your bow tie to look like it got heat-soaked and change colors, weld away!
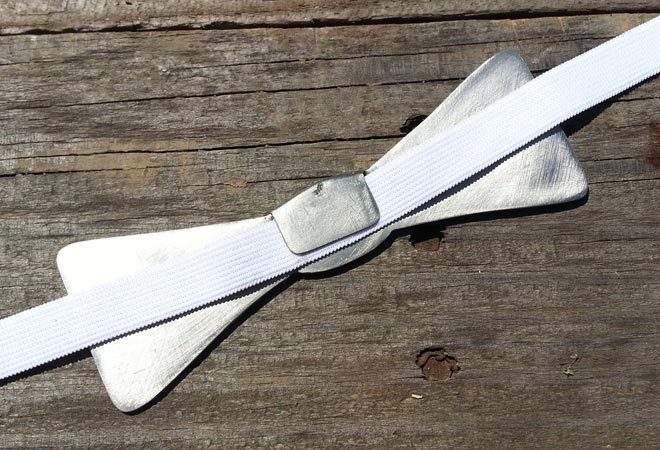
Here you can see how the elastic band fits under the clip. This layout isn’t perfect – my bow tie fell off once when I bent over. But it did hold up quite well. The tighter you make the fit of the clip, the better it will stay put, but the harder it will be to attach.
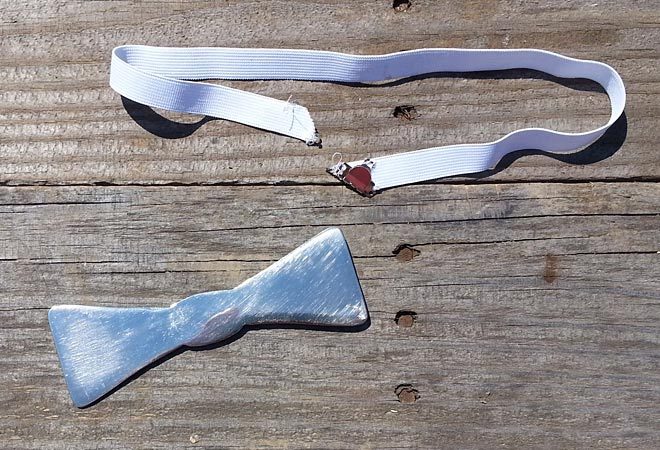
To finish this project, I had to make the neckband which would support the bow tie. I cut the elastic band to length and hand stitched the metal clasps onto the ends. I tried it at a couple lengths until I was happy. It needs to be tight enough to support the weight, but not so tight to bother you much.
Then I had to go back and touch up the front face again. Welding obviously messed with my finish, so I lightly sanded it at the higher grits and buffed it as well. It went much faster this time, but I think it makes more sense to wait until you’re done welding to even start the sanding and buffing process.
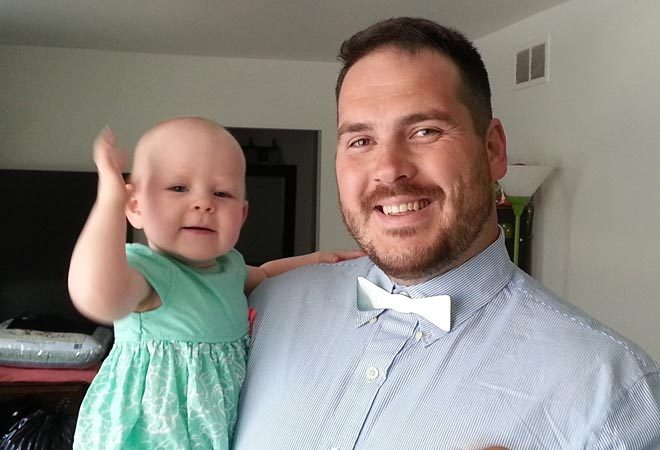
The test fit of everything went smoothly. We were ready for the next day’s wedding! That’s right, I started and finished a project in the same day – something that rarely happens around here. But it really is possible. If I were to do this again, I could probably make a DIY steel bow tie in under an hour, start to finish.
I shared some progress shots on my personal Instagram account and sent this cool shot to the DIY Huntress, because she wanted to share it with her followers. That was one of the coolest things about this project and it motivated me to make more things and share with more people.
…and now I have this blog! I did say that Sam was one of my heroes, after all.
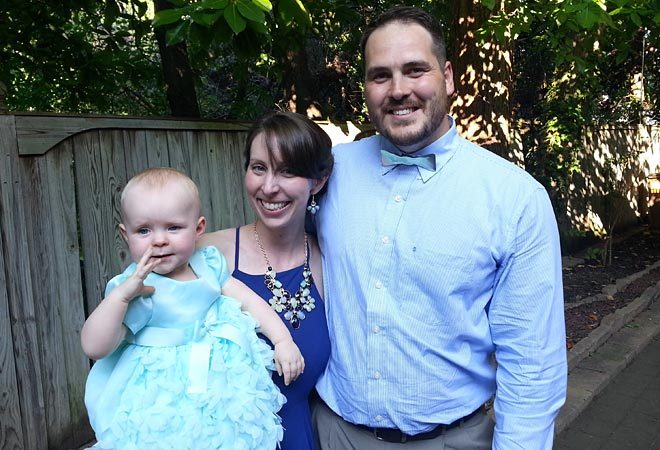
Needless to say, the bow tie was a big hit at the wedding. I had random strangers approaching me all evening to ask if my bow tie was made of metal. They thought it was very cool and were surprised to hear that I made it myself.
Alternate versions
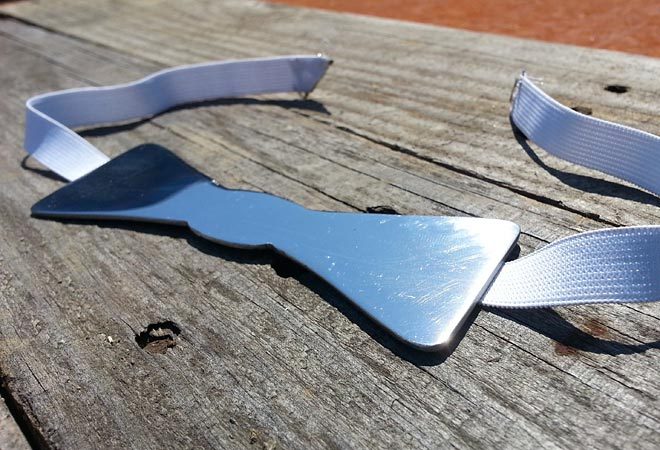
I could have certainly done many things different. Honestly, I wasn’t sure if I would like the mirrored finish more than a brushed look. I ended up liking both but settling on the polished version.
If I get the chance, I’d like to try this one again without a welder. I think the knot would need to be bigger to incorporate slots that the band can fit through, so weight might be an issue. But welding is a pretty high-level prerequisite, I get that. So it would be worth it to try for an alternate process.
Mixed media is another great idea. Making the center much smaller and wrapping it with fabric to build up a knot would probably look amazing. Maybe I should try that one too.
Your turn!
I want to hear from you. What did you think of this project? Did you follow the DIY Huntress tutorial and make a wood bow tie? Did you create a steel bow tie? Maybe this made your to-do list? Let me know below.
If you know anyone who might want to make their own DIY steel bow tie, share this with them. What would you do differently? I’d love to know how I could improve this tutorial. Thanks.